Create a transparent Watermark
using the free GIMP (GNU Image Manipulation Program)
Related Downloads:
This tutorial requires that you have installed
GIMP for Windows
and Arclab Watermark Studio on your computer.
We use GIMP version 2.6 and Watermark Studio
[an error occurred while processing this directive]in this tutorial. Future version
might look a bit different, but the basics should be the same.
1. Create a new image in GIMP
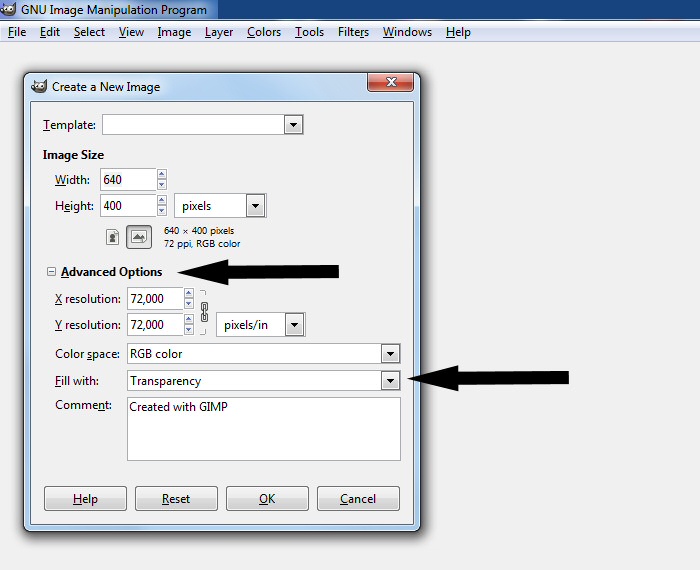
- Open GIMP
- Click on "File" -> "New"
- Expand the "Advanced Options"
- Go to "Fill with:" and select "Transparency".
2. Add some Text, Drawing or Logo
We use a simple text with a drop-shadow for this sample.
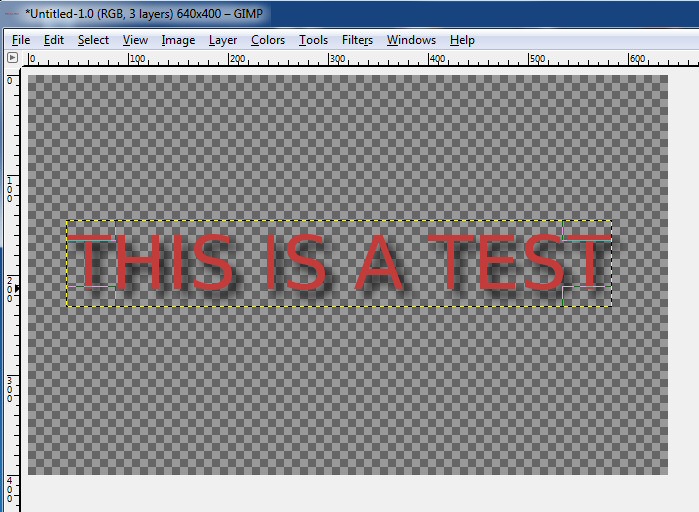
Its important that you see the squares, which means it has a transparent background. This also illustrates why its the best solution to use a 32bit transparent image. If the image would have a fixed, e.g. white background then the shadow would be on a white background, which means the shadow (and also the edges of the text) would be outlined on a different background color.
3. Save the Image as PNG
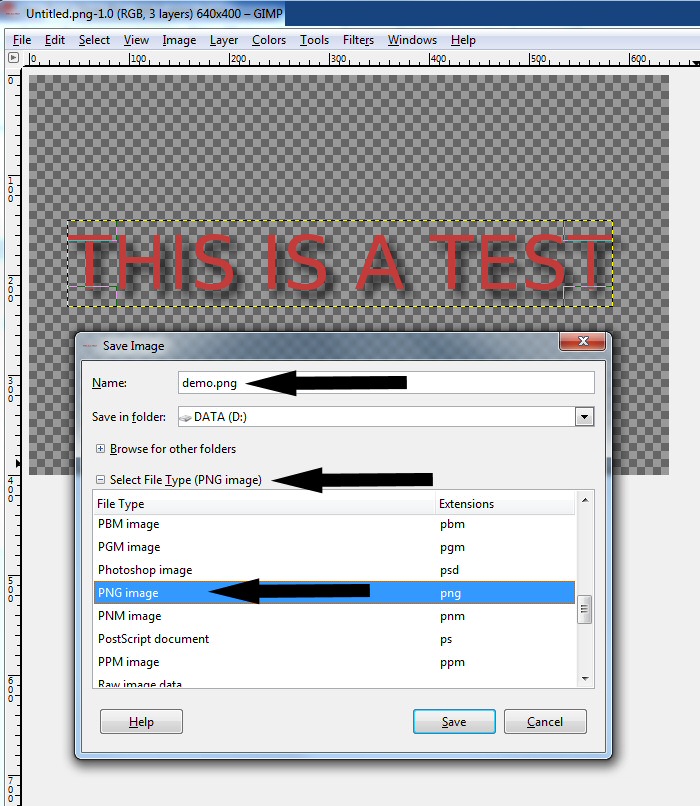
- Click on "File" -> "Save As"
- Enter the "Name" (we use demo.png) in this tutorial.
- Expand the "Select File Type"
- Select "PNG image"
- Click on "Save"
4. Save Options - Merge Visible Layers
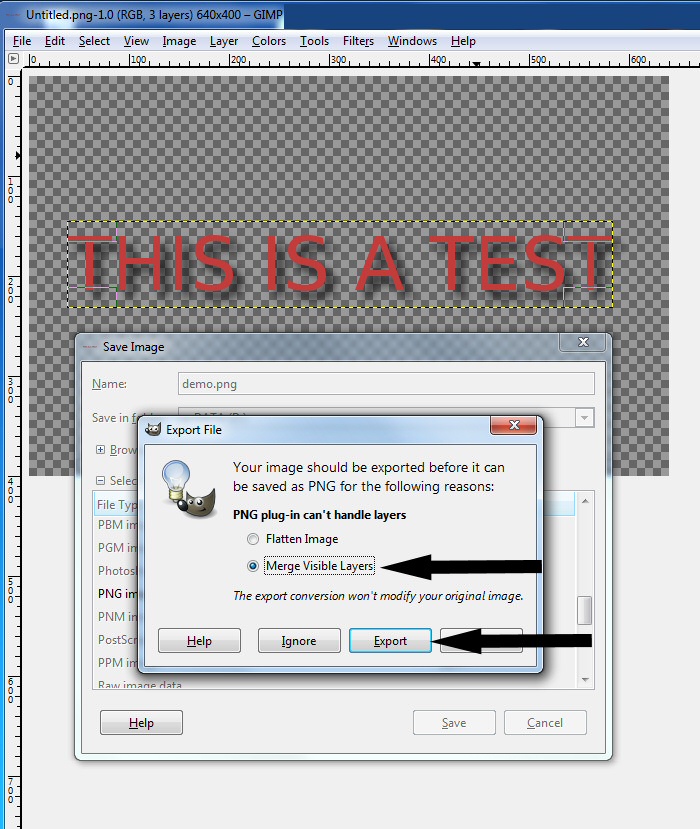
Now the "Export File" dialog opens. Our image contains multiple layers, but a PNG cannot contain multiple layers, so we have to select what should happen with the layers. If your image does not have multiple layers, then this dialog won't open and you can skip the following.
- Select "Merge Visible Layers" - don't use "Flatten Image"
!!!
- Click on "Export".
- Now another dialog opens with the title "Save as PNG". Keep the default settings and click on "Save".
5. Run Arclab Watermark Studio
- Start "Arclab Watermark Studio"
(The free version is fully functional, but adds an additional watermark to the output.) - Check "Image Watermark"
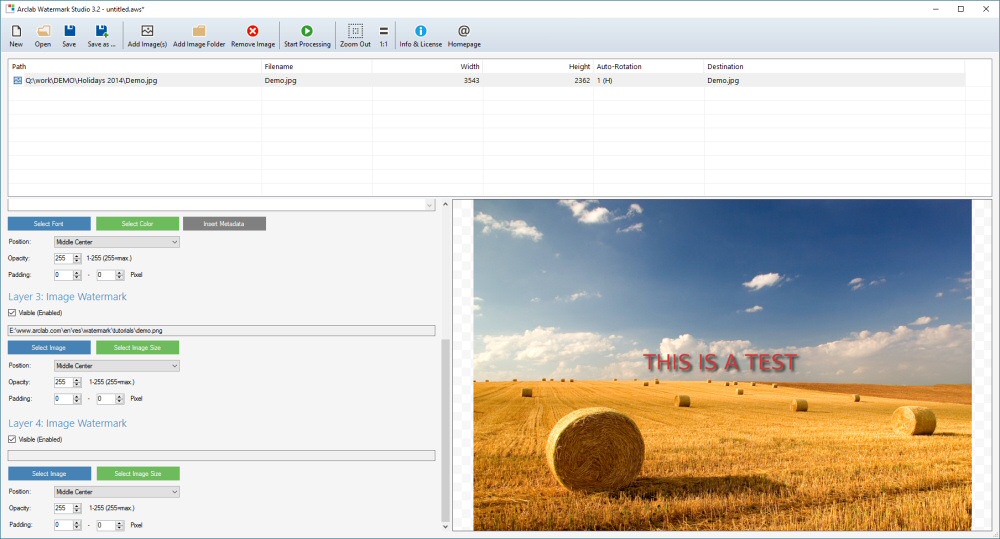
- Select the PNG image we saved in the last step. (demo.png).
