Create Output Images with applied Watermarks
User Manual
Start Processing
Click on "Start Processing" to apply the watermarks (text and image watermark layers) to the source images and create the output files:
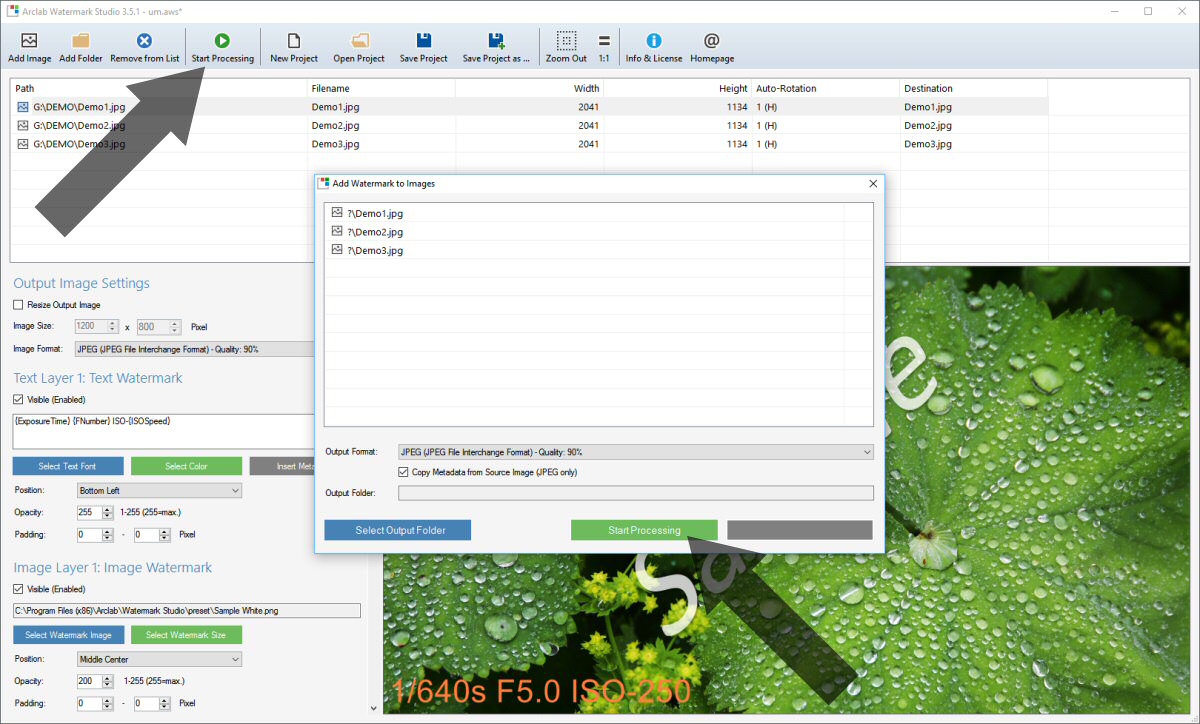
The program asks for the "Output Folder" if you have not
specified an output folder before.
Don't use the folder with the source images
as output folder ... the output folder should be a different folder.
Important: The program does not overwrite the images in
the source folder!
It creates new images with applied watermark(s) in the
output folder.
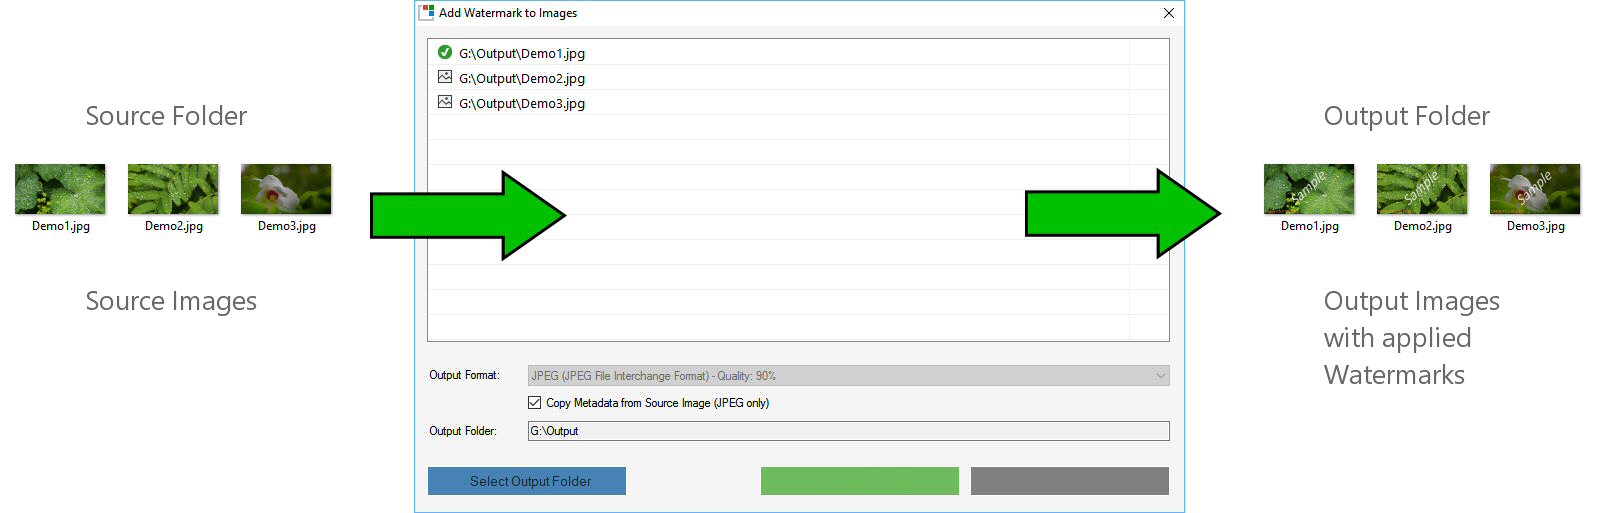
The program opens the output folder after the images (with applied watermarks) have been created.
Output Image Settings
The program can also be used to resize and/or convert images to a different file format.

Check "Resize Output Images" and enter the new output image size if you want to resize the output images. The program automatically calculates the height when you enter the new image width to keep the aspect ratio of the image.
The default "Image Format" is JPEG with a quality of 90%, which offers a good quality/size ratio.
Supported Output Image Formats:
- JPEG (JPEG File Interchange Format) - Non-Interlaced
- JPEG (JPEG File Interchange Format) - Interlaced (Progressive)
- PNG (Portable Network Graphics) - Non-Interlaced
- PNG (Portable Network Graphics) - Interlaced (Progressive)
- BMP (Windows Bitmap)
- TIFF (Tagged Image File Format) - LZW Compressed
- TIFF (Tagged Image File Format) - Uncompressed
You can also change the "Output Format" after you clicked in the progress dialog:
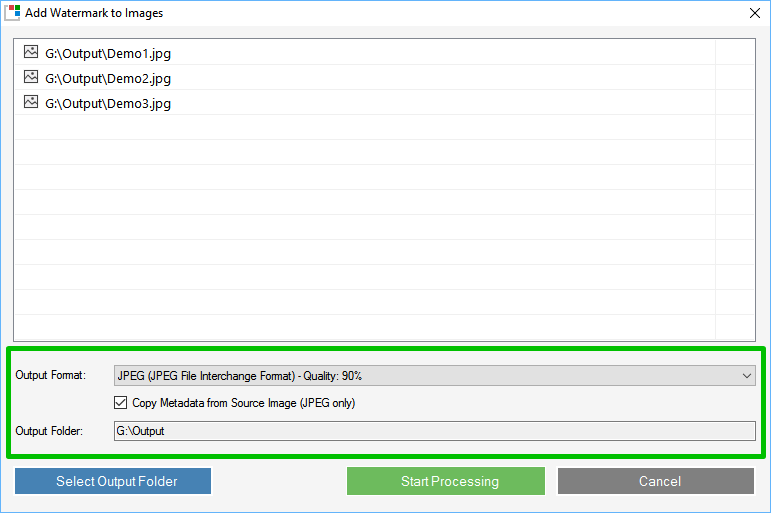
Watermark Studio copies the image metadata (EXIF information)
by default when using JPEG as output image format.
Uncheck "Copy
Metadata from Source Image" if the source image metadata should
not be copied to the output images.