Source Images (Photos)
User Manual
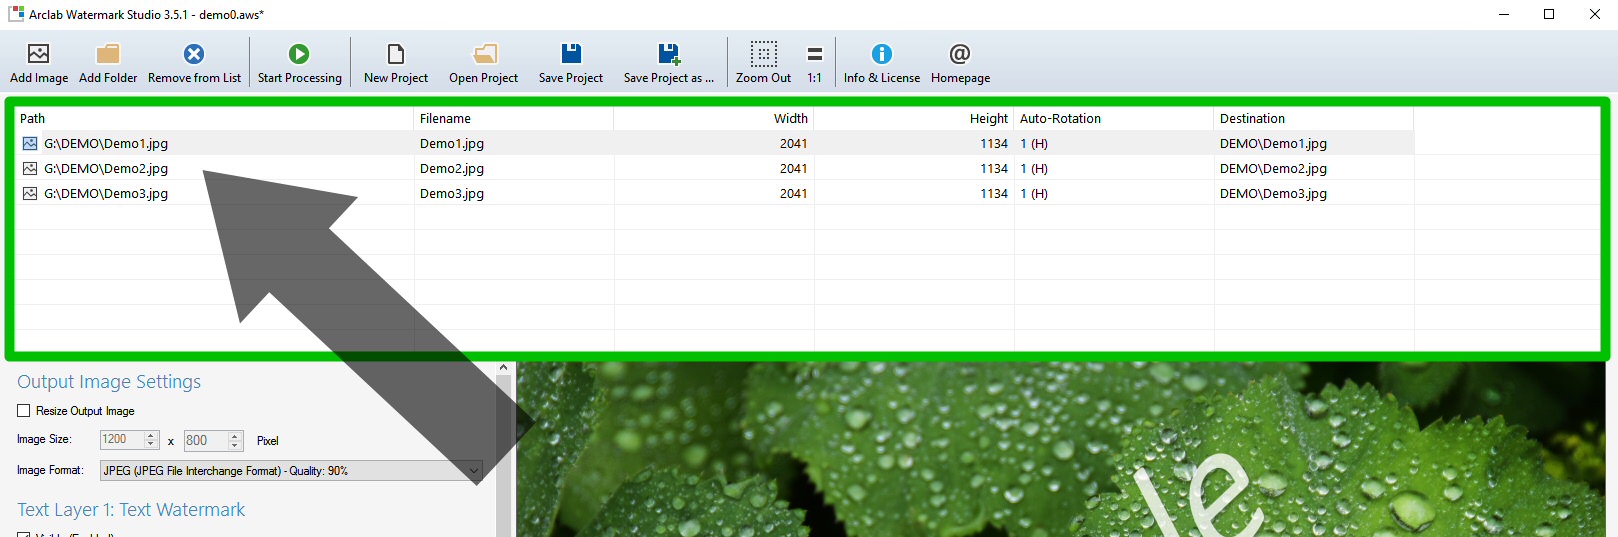
Source Images List
The source images are the images/photos to which the watermark should be applied.
The source image(s) will be shown in the source image list.
Click on an
image for a preview:
Add Source Image(s)
A click on "Add Image" (or "Add a Single or Multiple Images" on the startup screen) opens a standard file open dialog where you select a single or multiple images within the same folder.
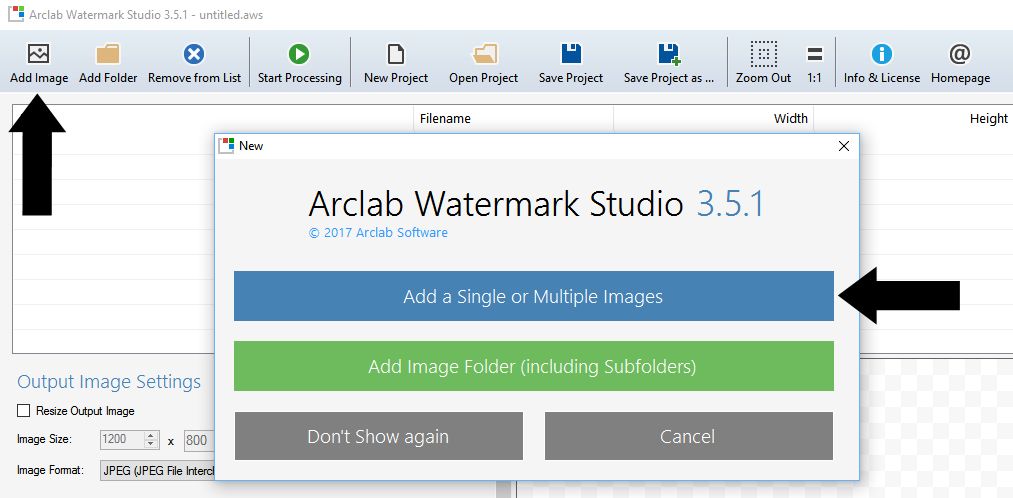
Please note: The program does not overwrite the source
image files.
It creates new image files (with the applied watermarks)
in the specified output folder when you start the processing.
A click on "Add Folder" (or "Add Image Folder (including Subfolders)" on the startup screen) allows you to select files and folders.
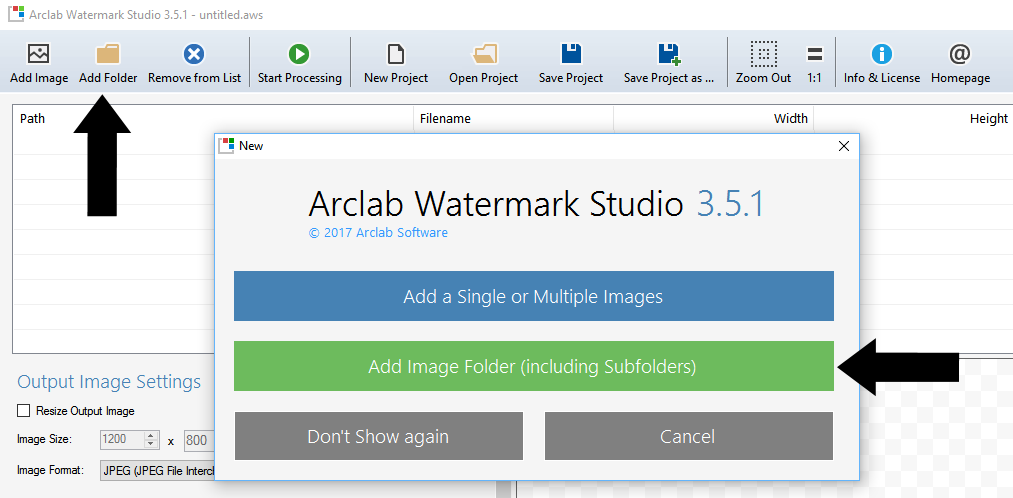
First select the root folder, e.g. g:\Demo.
The program will show
all image files and folders in a tree structure:
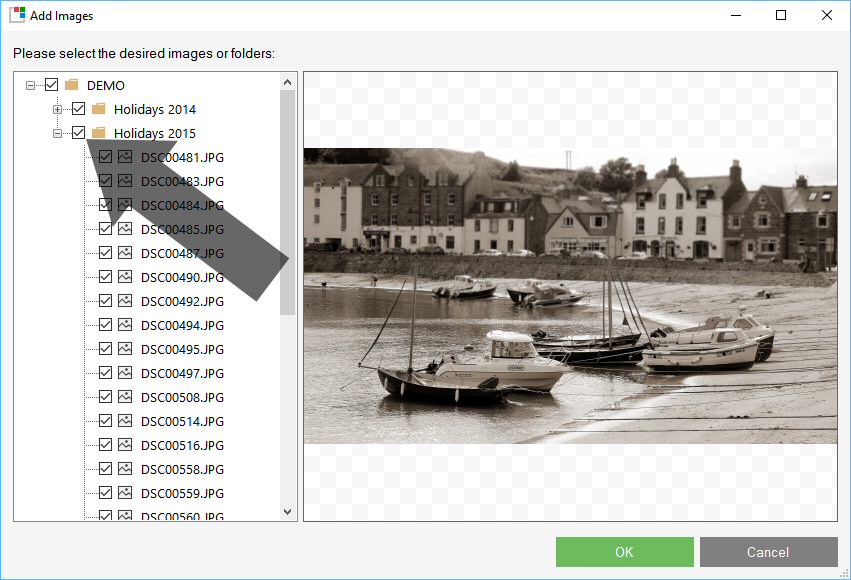
All files and folders are selected by default. Uncheck the files/folders
which should be excluded.
The program will re-build the structure in
the output folder when you run the processing (apply the watermarks to the
output images) later.
Please note: The program does not overwrite the source
image files.
It creates new image files (with the applied watermarks)
in the specified output folder when you start the processing.
Remove Source Image(s)
Select a single or multiple images in the image list and click on "Remove from List":
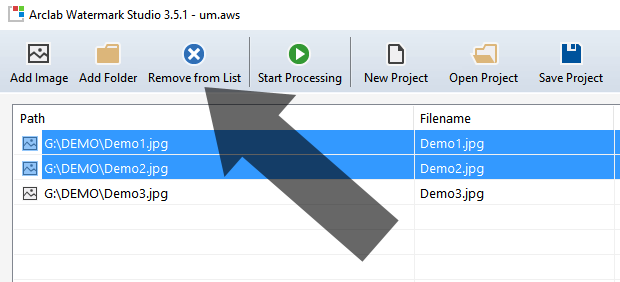
- Hold down the "Ctrl" button to select multiple images.
- Select the first image, hold down "Shift" and select the last image to select a group of images.
Please note: "Remove from List" removes the image(s) from the list - it does not delete the source image file(s)!