Create PDF using TCPDF and Add it as Email Attachment
Arclab® Web Form Builder
Notes:
TCPDF is an "Open Source PHP class for generating PDF documents".
TCPDF can be downloaded from the manufacturer and unzipped into a folder on
your web server or installed with "composer".
Homepage:
https://tcpdf.org
open_in_new
TCPDF Installation:
- Go to the author's github page: https://github.com/tecnickcom/tcpdf open_in_new
- Click on "Code" and select "Download Zip" to download the library.
- Create a folder with the name "tcpdf" on your web server and unzip the file into the folder.
- You can also install the library using composer: https://packagist.org/packages/tecnickcom/tcpdf open_in_new
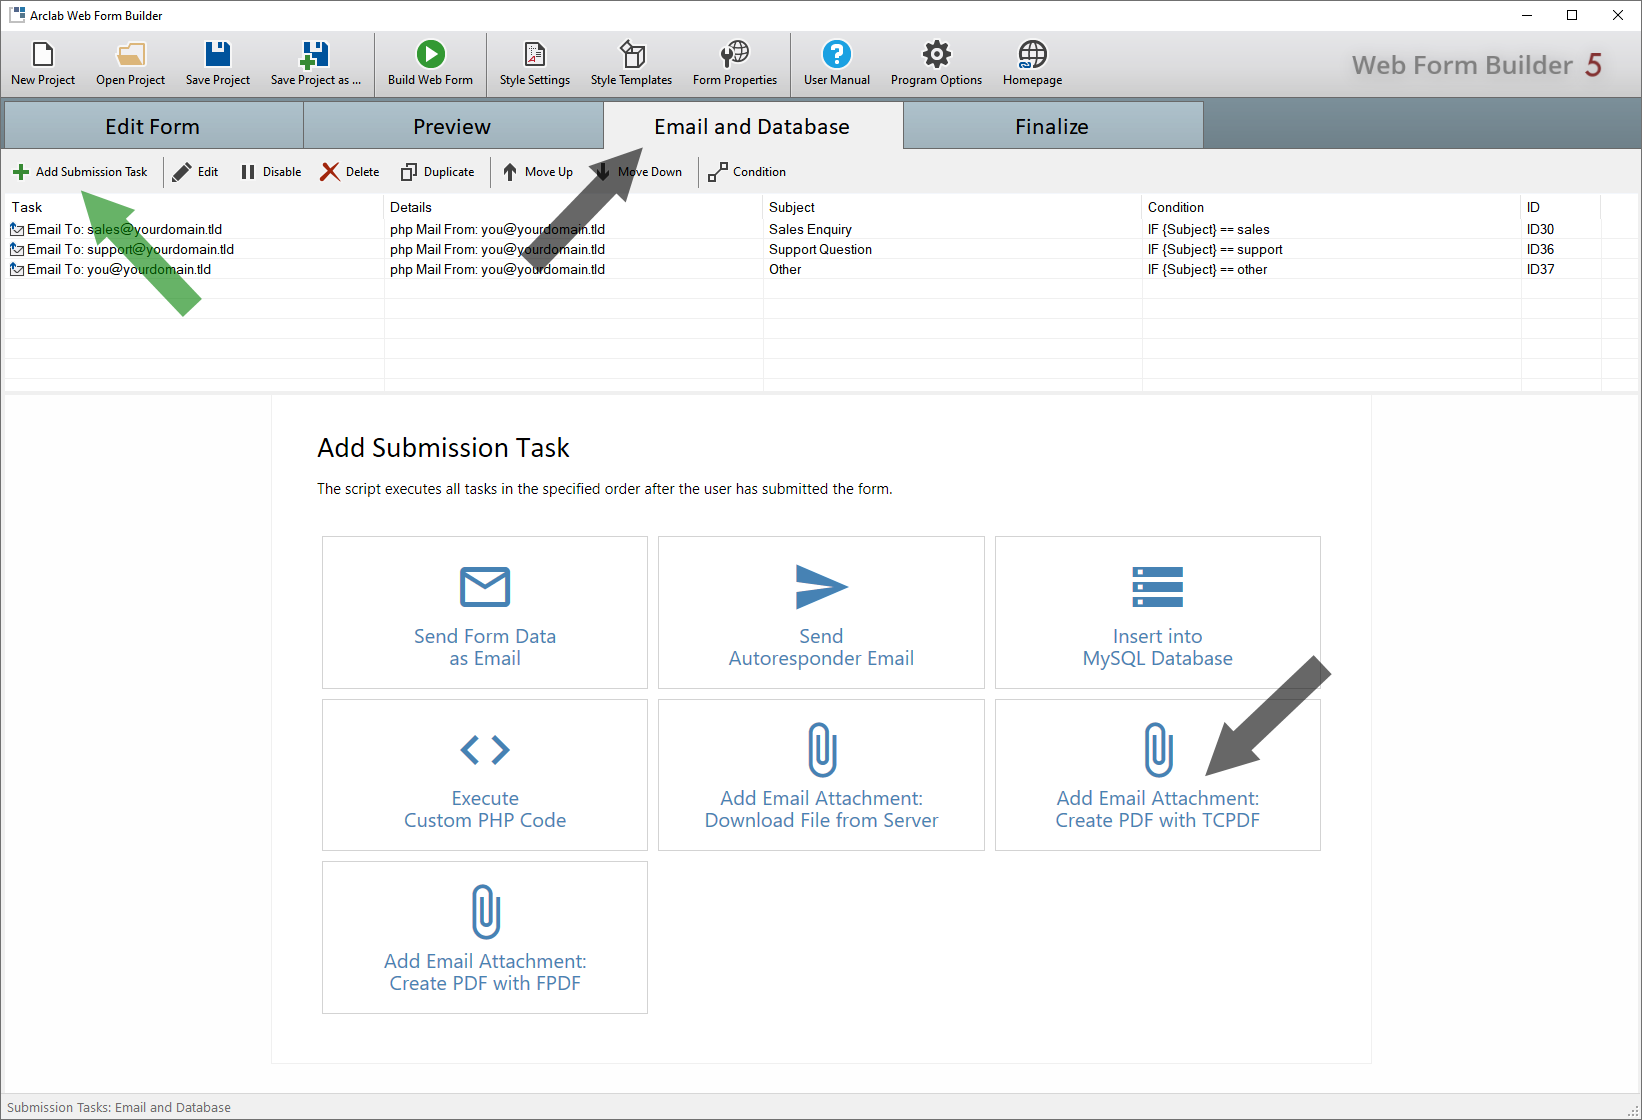
Add a new "Submission Task"
Switch to the "Email and Database" tab and select the type
of task you want to add under "Add Submission Task":
Please note that this functionality is only available
in the "Test Version" or in the "Developer Edition".
Add the Code to Create the PDF Document
An example PHP code is automatically generated, which contains 2 fields from
your form (if available).
Of course, you can also simply copy your existing
PHP code into the editor to create a PDF document with TCPDF. In this case,
please make sure that you change the parameters of the TCPDF "Output" function
as described below and assign the result to the PHP variable $att_content_data.
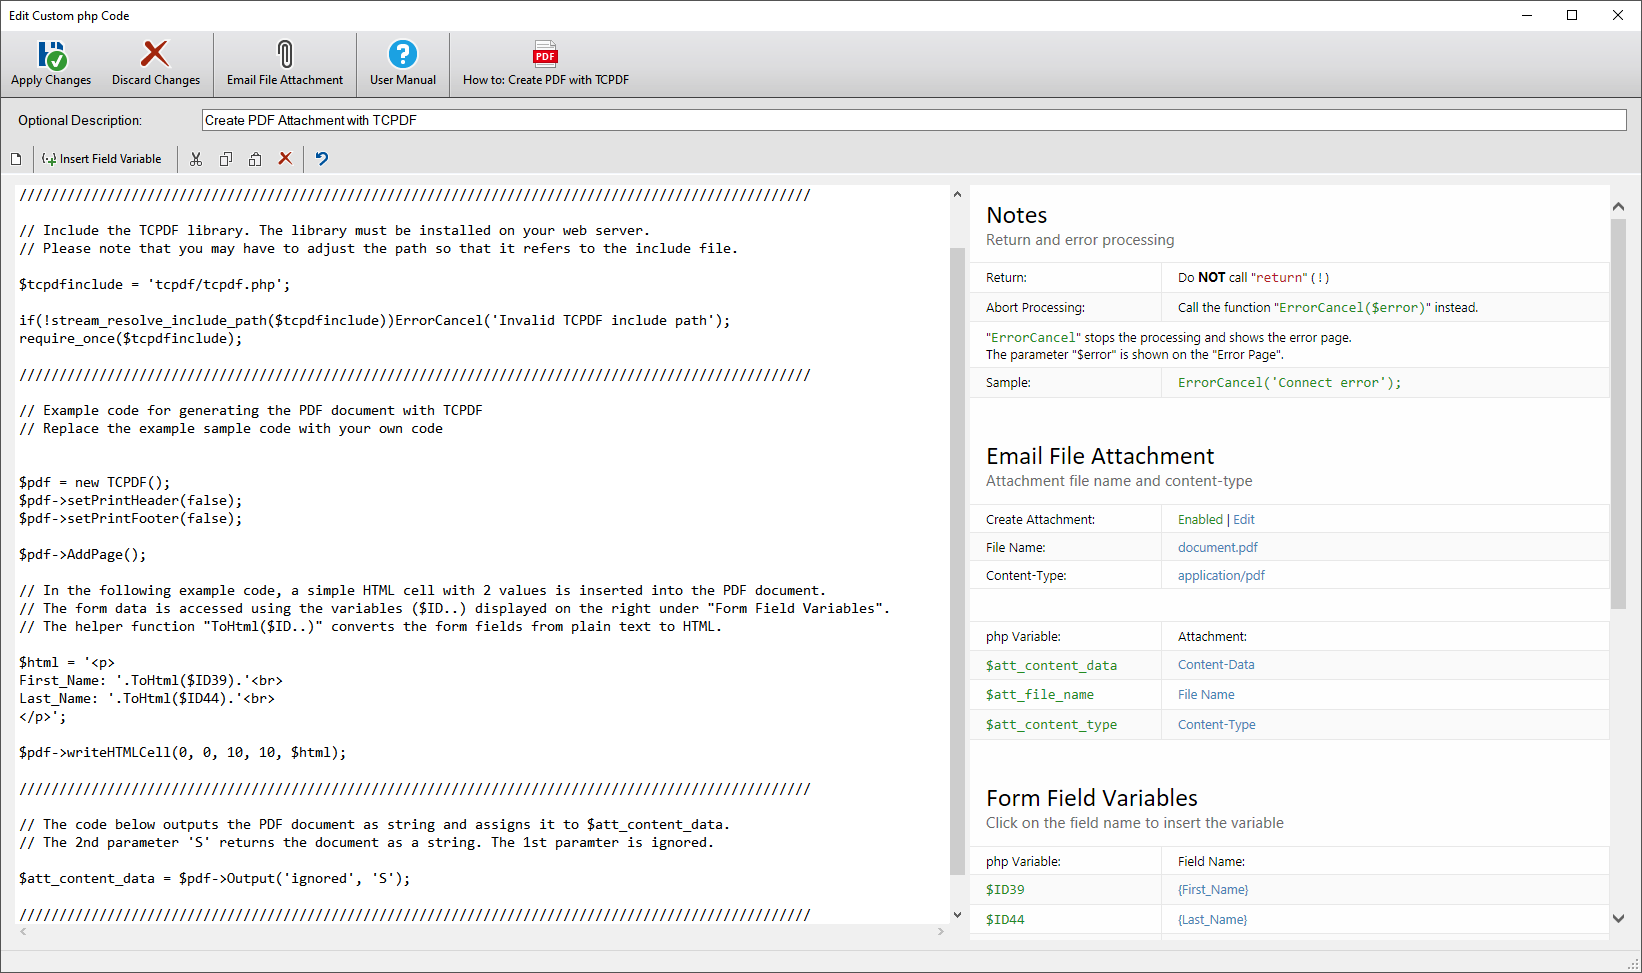
Sample Code:
// Include the main TCPDF library.
The library must be installed on your web server.
// Please note that you
may have to
adjust the
path so that it refers to the include file.
$tcpdfinclude
= 'tcpdf/tcpdf.php';
if(!stream_resolve_include_path($tcpdfinclude))ErrorCancel('Invalid
TCPDF include path');
require_once($tcpdfinclude);
///////////////////////////////////////////////////////////
// Example code for generating the PDF document with TCPDF
// Replace
the example code with your own code
$pdf = new TCPDF();
$pdf->setPrintHeader(false);
$pdf->setPrintFooter(false);
$pdf->AddPage();
// In the following example code, a simple
HTML cell with 2 values is inserted into the PDF document.
// The form data
is accessed using the variables ($ID..) displayed on the right under "Form Field
Variables".
// The helper function "ToHtml($ID..)" converts the form fields
from plain text to HTML.
$html = '<p>
First_Name: '.ToHtml($ID39).'<br>
Last_Name: '.ToHtml($ID44).'<br>
</p>';
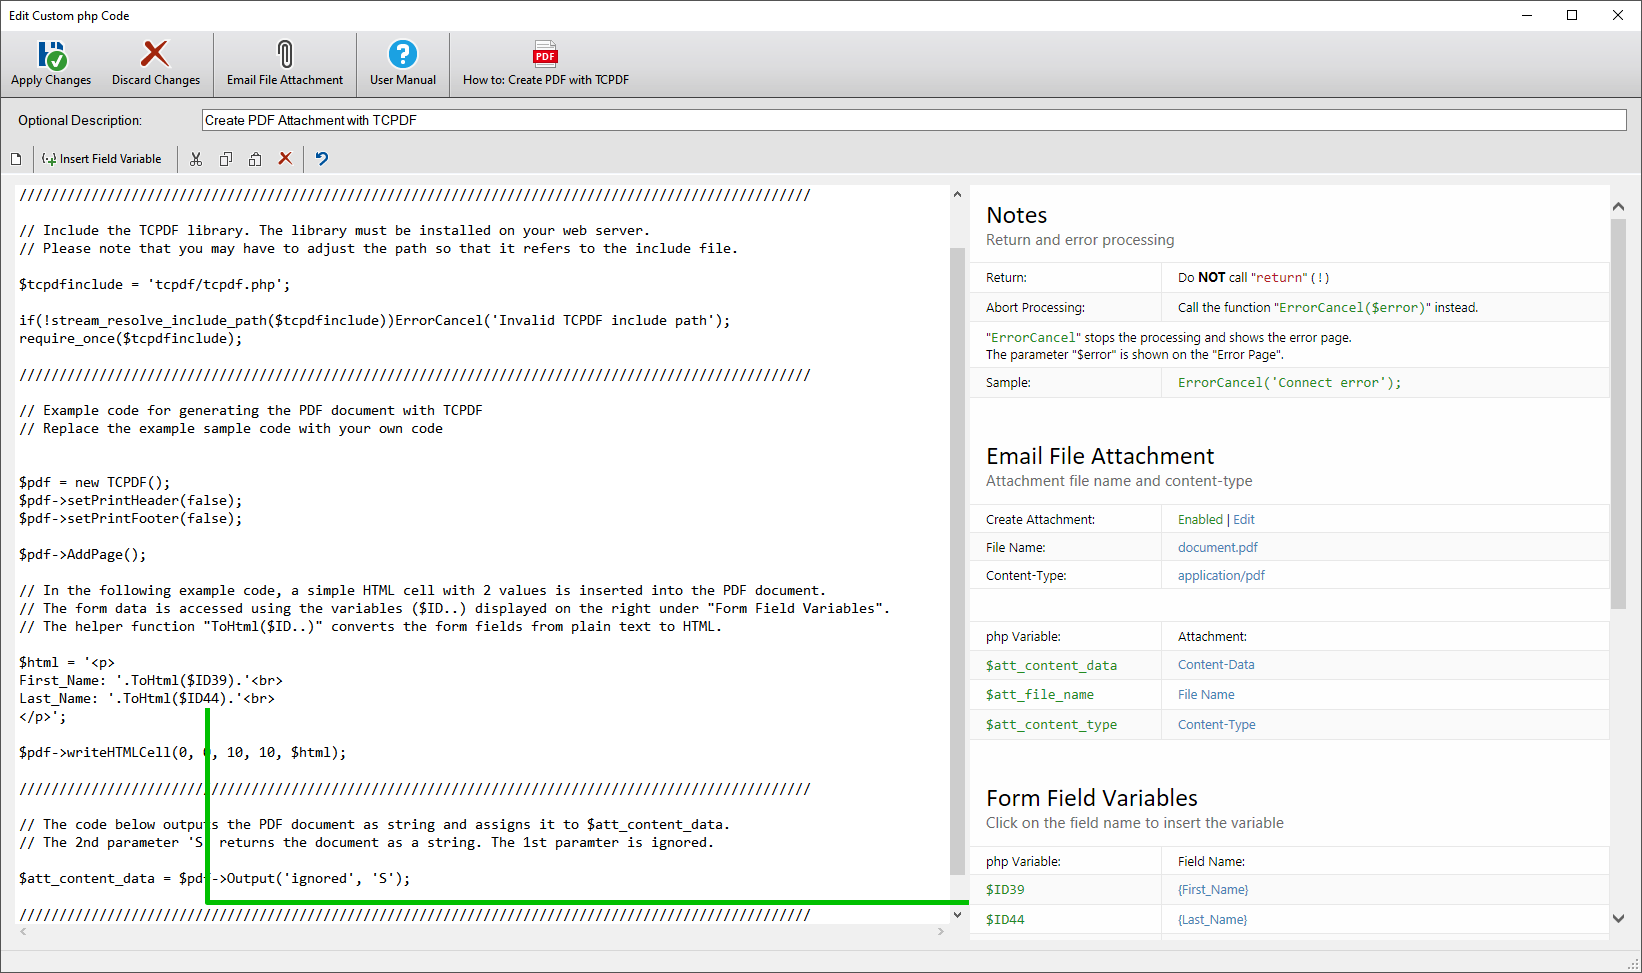
$pdf->writeHTMLCell(0,
0, 10, 10, $html);
///////////////////////////////////////////////////////////
// The code below outputs the PDF document as string and assigns it to $att_content_data.
// The 2nd parameter 'S' returns the document as a string. The 1st paramter
is ignored.
$att_content_data =
$pdf->Output('ignored', 'S');
Code Details
First the TCPDF library has to be included. This can be done e.g. via the code:
require_once('tcpdf/tcpdf.php');
In the example above, the code has been slightly modified to display an error message if the path is incorrect:
$tcpdfinclude = 'tcpdf/tcpdf.php';
if(!stream_resolve_include_path($tcpdfinclude))ErrorCancel('Invalid TCPDF include
path');
require_once($tcpdfinclude);
In this example the include file of the TCPDF library is in the subdirectory
"tcpdf".
Please note that you have to adapt the path
according to your TCPDF installation.
See also:
Adjust the
Path of the PHP "include" File for external PHP libraries
The contents of the form fields can be accessed via the php variables displayed on the right:
A php variable is assigned to each form field, which contains the value of
the field, e.g. the user input/selection.
The variable name corresponds to
the ID in the form.
The helper function "ToHtml($ID..)" converts the form
fields from plain text to HTML.
Important!
Return the PDF document as a string and assign it to $att_content_data.
To do this, you have to change the parameters of the function "Output" so that it returns the PDF document as a string to the variable $att_content_data:
$att_content_data = $pdf->Output('ignored', 'S');
The second parameter must be changed to
'S'. This means that the
PDF document is not sent directly to the browser, but returned as a string.
The first parameter (file name) is ignored when
the TCPDF output is returned as a string.
If you want to change the file name of the attachment, click on "Email File Attachment" in the menu or in the right area on "File Name".
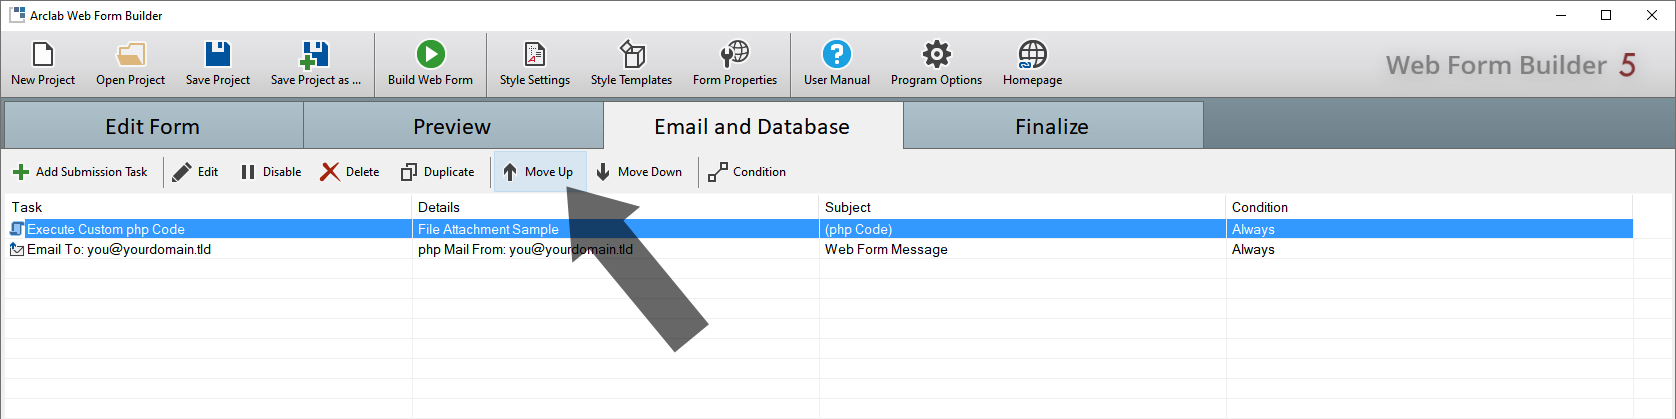
Change the Order of the Tasks
Important!
Please note that all tasks are executed the order shown under "Email and Database". The file attachment must have been created before the email and will then be attached to all subsequent emails. You can use the "Move Up" and "Move Down" buttons to change the order of the tasks accordingly.