Execute Custom PHP Code
Arclab® Web Form Builder
Web Form Builder also allows you to execute custom PHP code on form submission.
Please note that this functionality is only available
in the "Test Version" or in the "Developer Edition".
flash_on Execute Custom PHP Code
- Access and Manipulate Form Data in PHP
- Create Custom Email File Attachment
- Add Email Attachment: Download a File from Your Web Server
- Add Email Attachment: Create a PDF File using TCPDF
- Add Email Attachment: Create a PDF File using FPDF
- Adjust the Path of the PHP "include" File for external PHP libraries
- How to insert an Image, Header or Logo using TCPDF and FPDF
- REST API Calls (GET/POST)
help_outline Execute Custom PHP Code F.A.Q.
- How to use a dynamic Attachment File Name
- How to access the PNG Image of a Signature Field
- Sample: Add PNG Image of Signature Field to PDF using TCPDF
- Sample: Add PNG Image of Signature Field to PDF using FPDF
- How to access the Uploaded Files of a "File Upload" Form Element ($_FILES array)
How does it work?
The visual part of the form is based on Javascript.
After the form user
has filled out the form and clicked the submit button, the form data is sent
to the php script via "XMLHttpRequest".
Now all tasks will be executed in the specified order.
In addition to
sending emails and inserting data into a database, you can also execute your
own PHP code here.
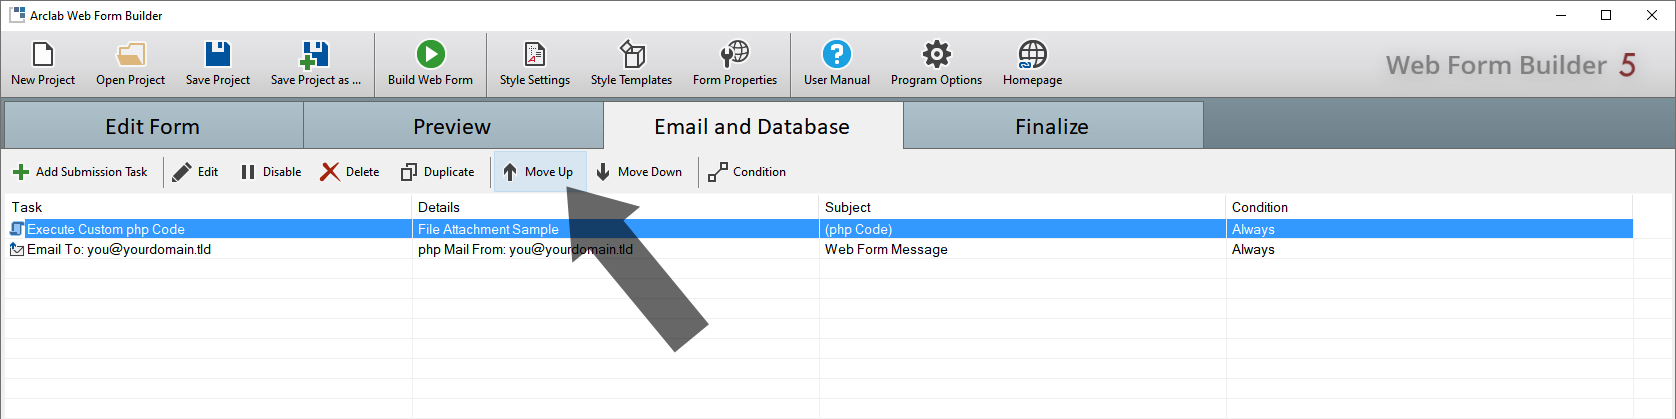
You can freely define the order of the tasks in the "Email and Database"
tab.
Use "Move Up" and "Move Down" to change the order of the tasks.
Please
note that if you want to create a file attachment, the task must be executed
before the email is sent.
After the tasks have been executed the PHP script returns either "OK" or an error code (text) to the Javascript form, which then displays either the success or the error page. If you want to stop the processing use "ErrorCancel($error)", but don't call "return" directly.
Please note that the php code cannot make any direct outputs, so you cannot write into the form using "echo"! The form itself cannot be changed by the php code. The php code is only used for the data processing (form submission).
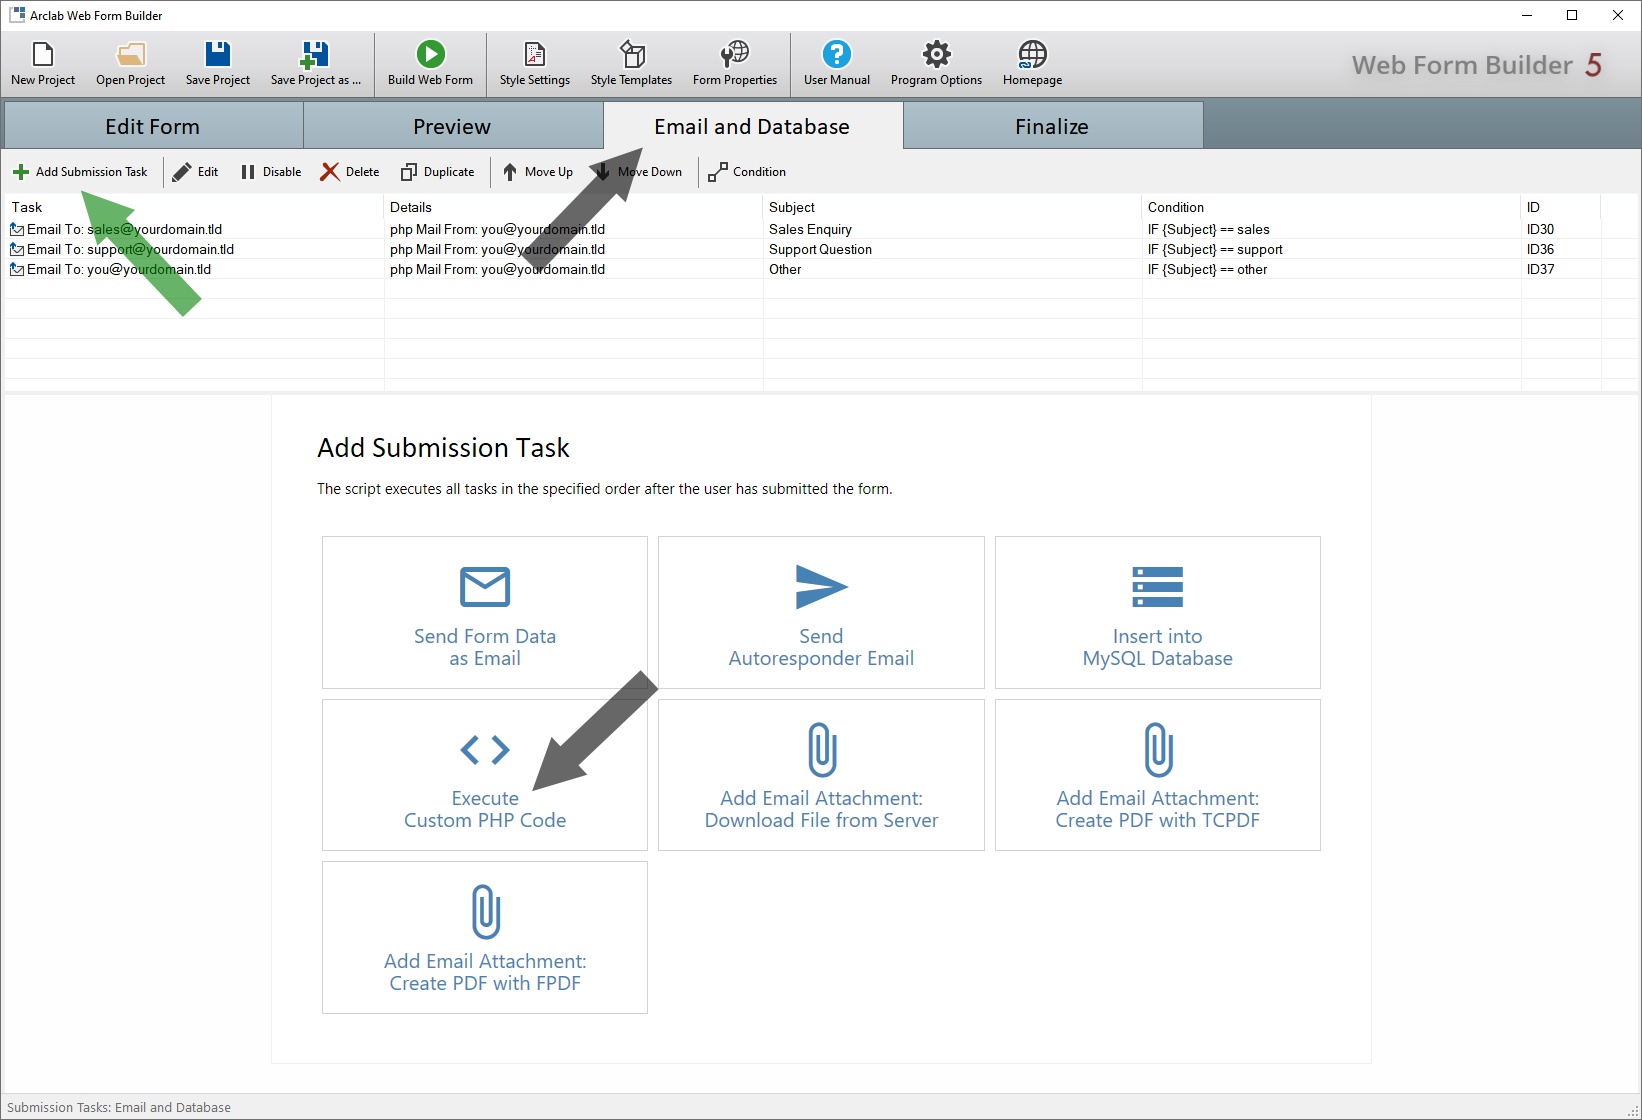
Add Custom PHP Code
Switch to the "Email and Database" tab and select the type of task you want to add under "Add Submission Task":
Access and Manipulate Form Data in PHP
You can easily access the content of the form fields in PHP.
- A php variable is assigned to each form field, which contains the value of the field, e.g. the user input/selection.
- The variable name corresponds to the ID in the form.
Click on the field name to insert the value or click on "Insert Field Variable":
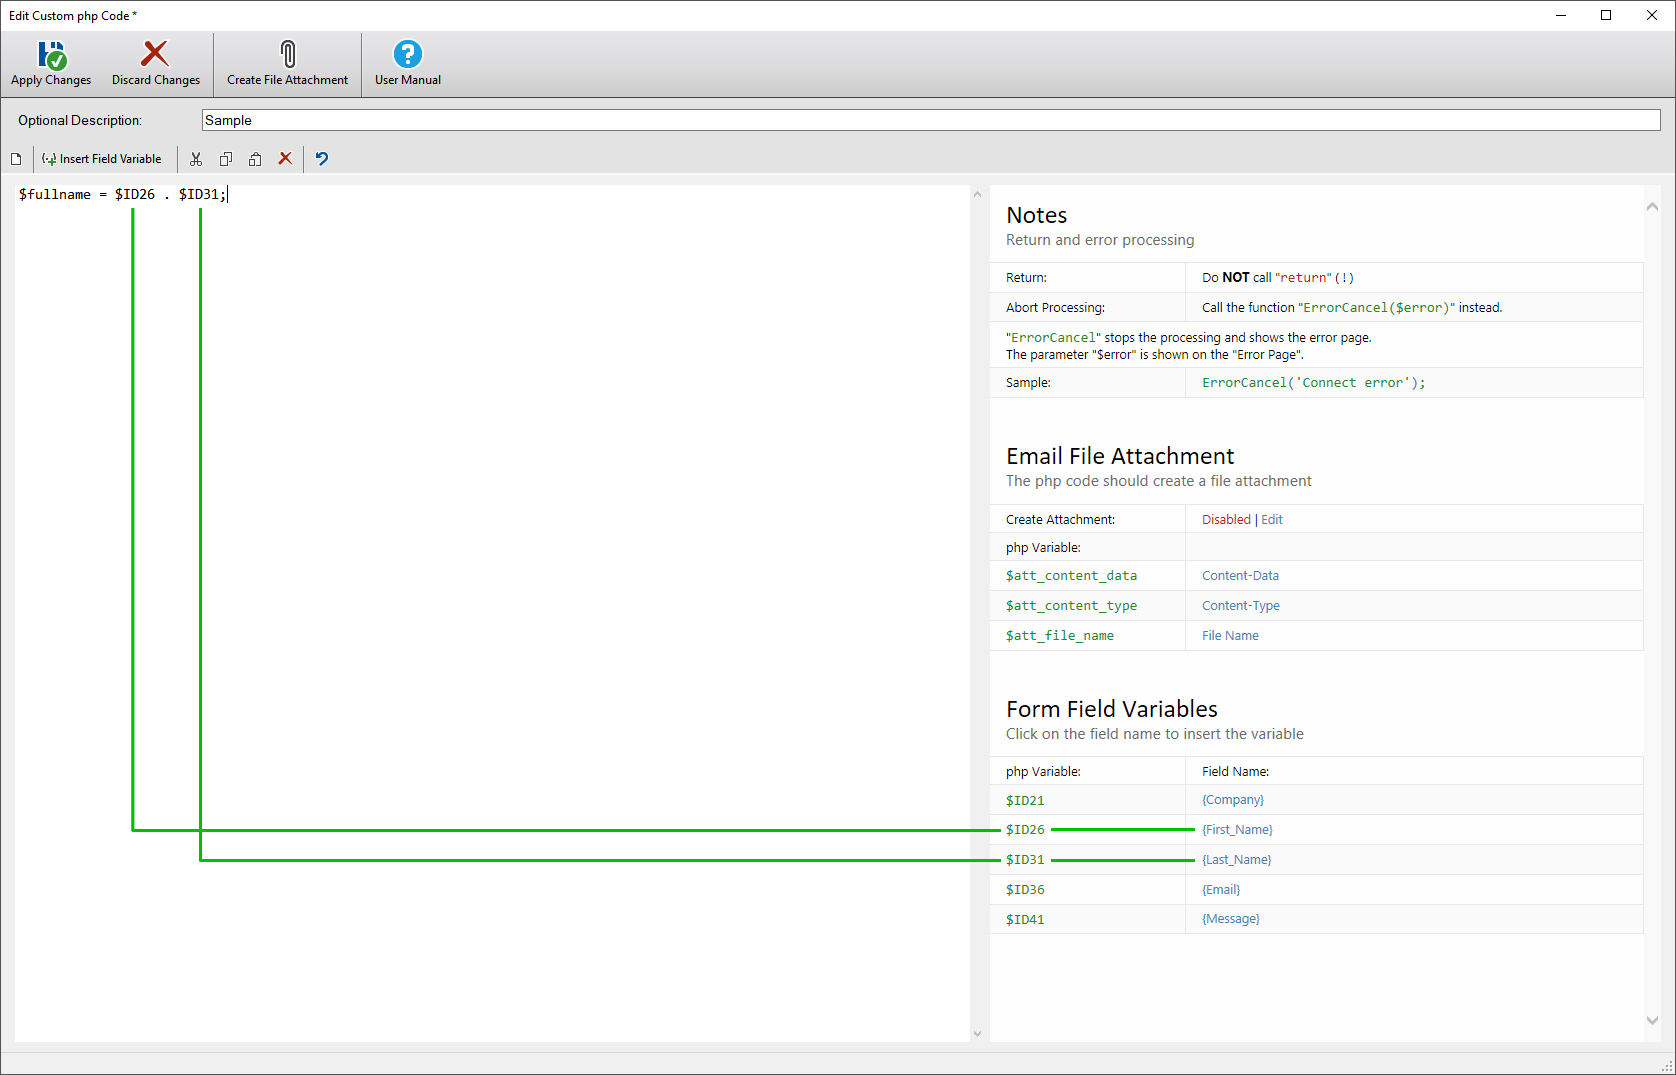
In the example above, a new php variable is created which contains the
first name plus the last name.
If you want to insert a space between
your first name and last name, use e.g.
$fullname="$ID26 $ID31";
Not only can you have read access to the form data, but you can also
change it as you wish.
For example, if you want to change the content
of the {Message} field, you can simply
use the following code:
$ID41 = "abc";
In this example, the {Message} field
is accessed via the php variable $ID41.
This changes the value of the {Message} field for all subsequent
tasks.
Create Custom Email File Attachment
See also:
- Add Email Attachment: Download a File from Your Web Server
- Add Email Attachment: Create a PDF File using TCPDF
- Add Email Attachment: Create a PDF File using FPDF
Go to "Email and Database" and add a new "Submission Task":
Click on "Create File Attachment" and select the content-type and the file name.
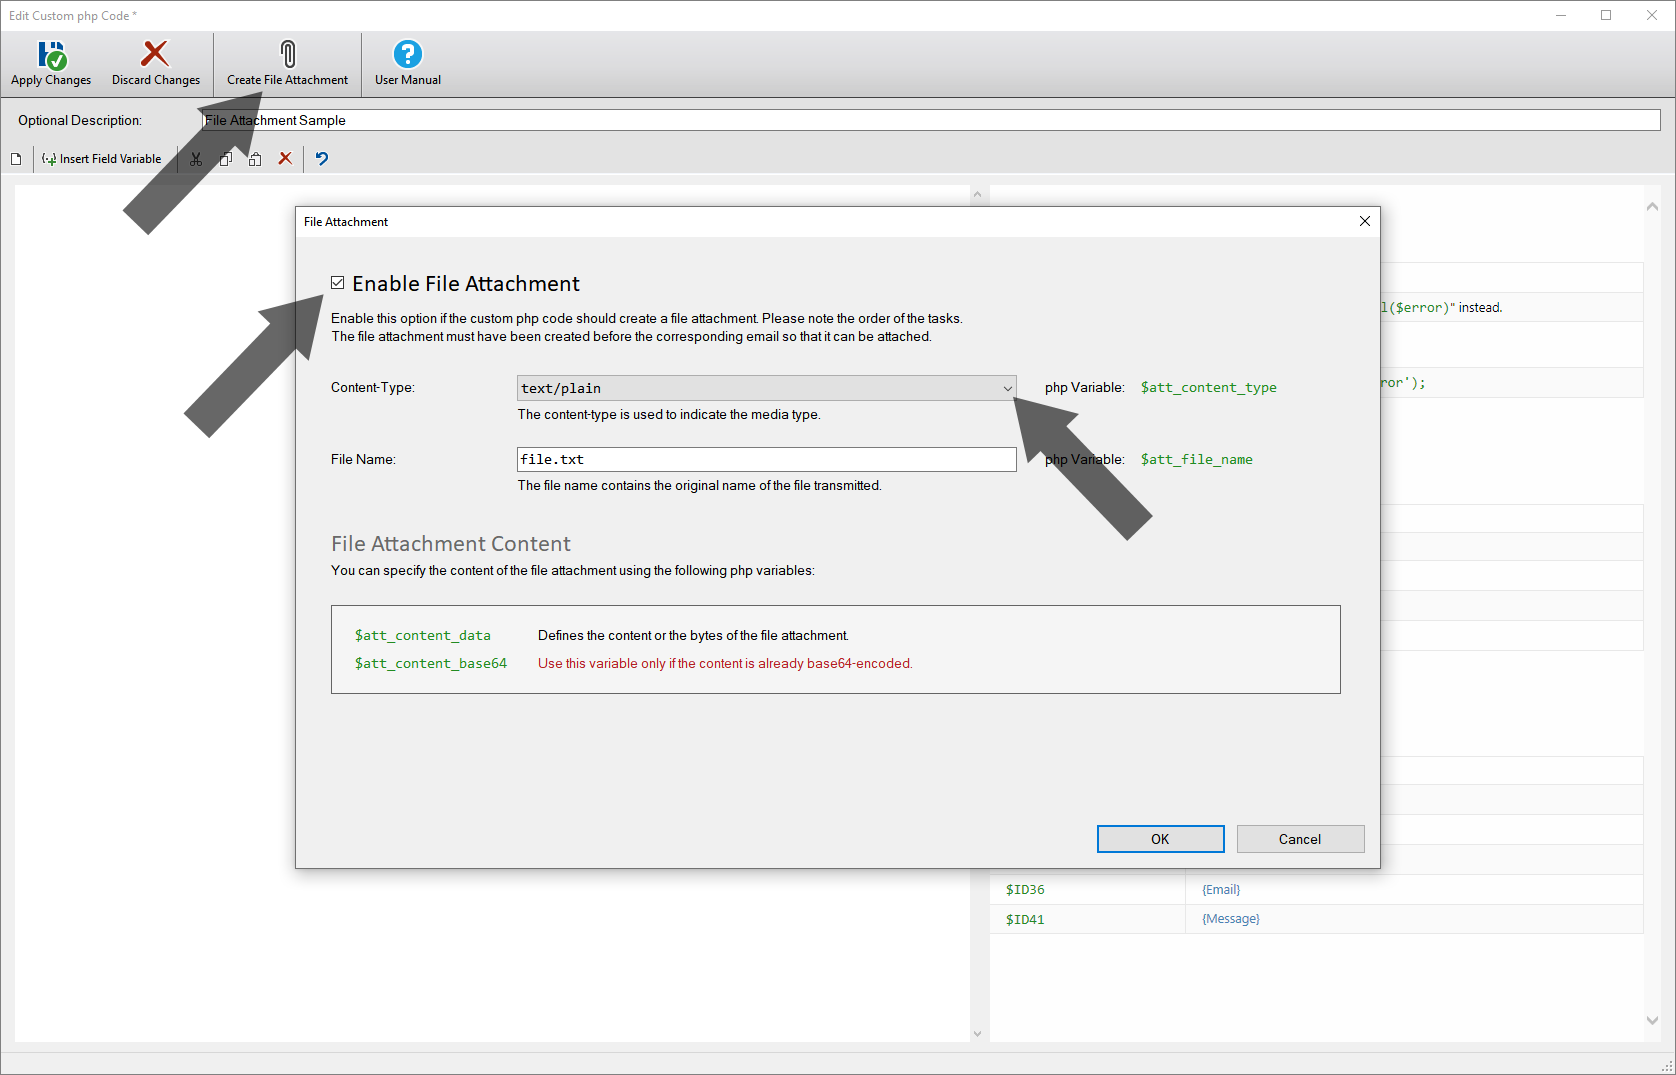
- Select the content-type that matches the file attachment.
In this example a simple text file is to be created, but you can of course also create a PDF or an image file. - The file name is important as it will be displayed in the email. If the recipient saves the file attachment, this file name is also used.
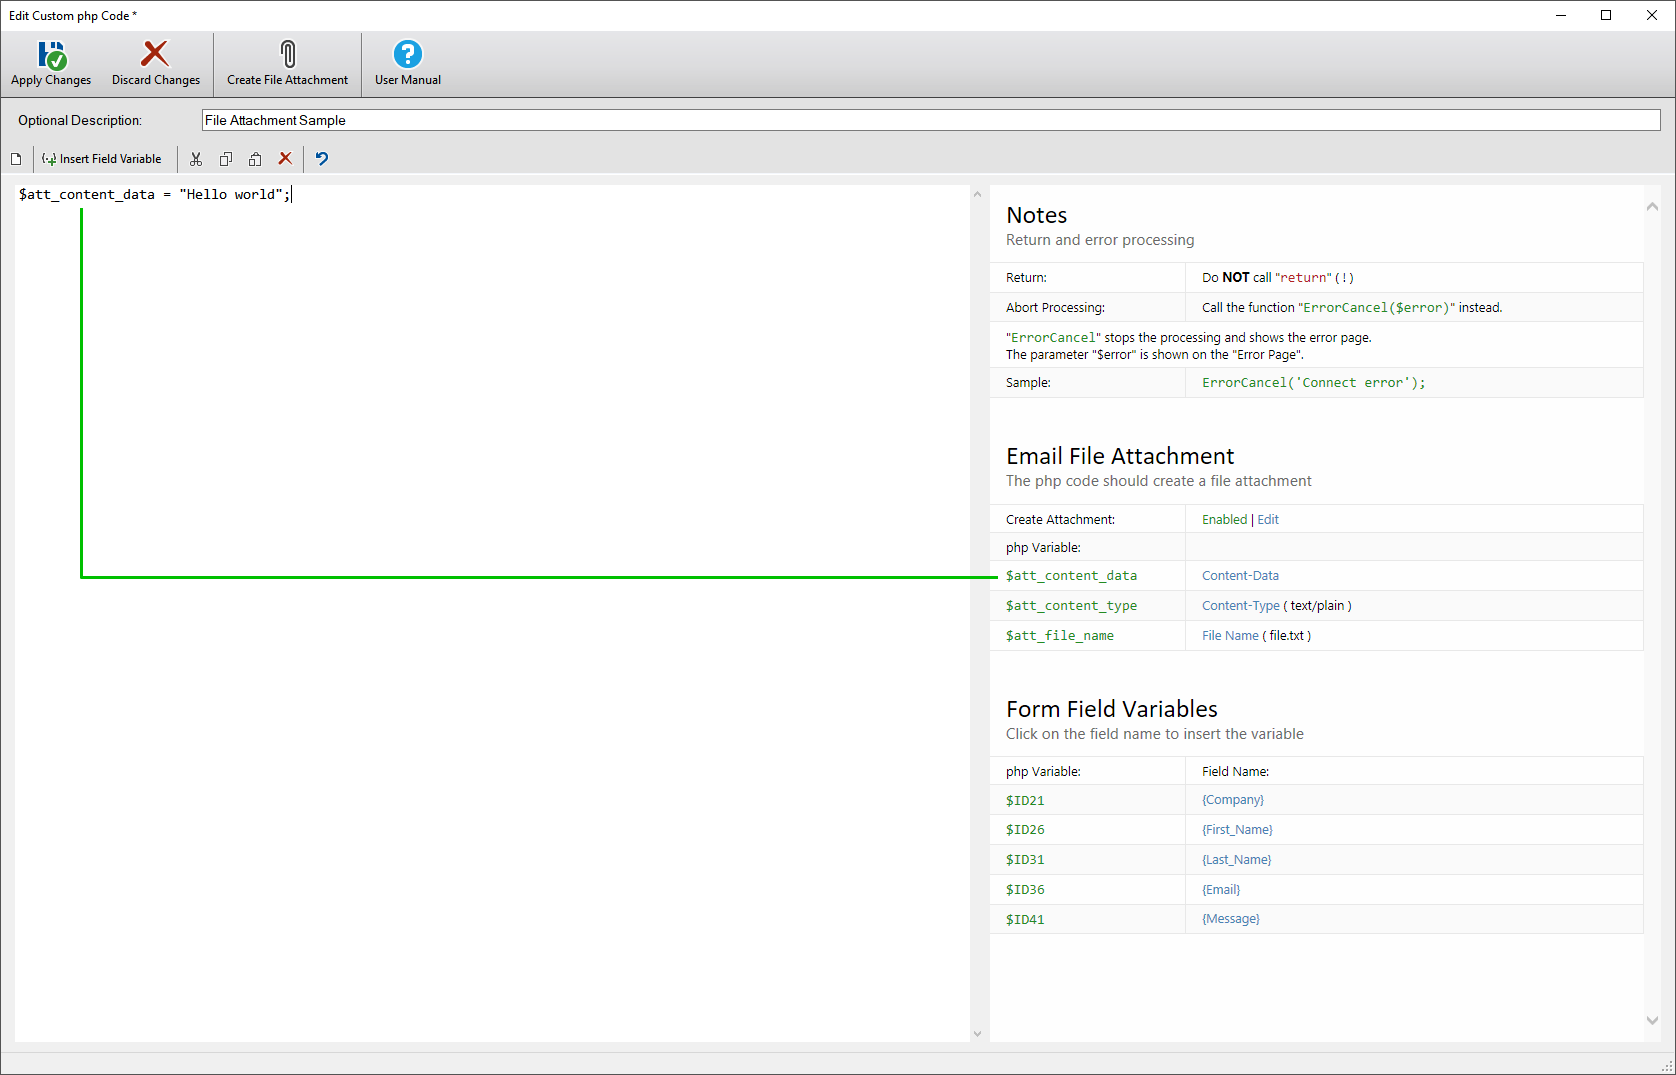
In the example above, a text file is created as a file attachment which
contains the text "Hello world".
Of course, you can also access field
contents here, e.g. if the {first_name}
is to be inserted, use the following code:
// prepare the contents
of the file
$text = "Hello $ID26";
...
// assign the content of the file
to the variable $att_content_data
$att_content_data = $text;
Simply assign the content of the file attachment to the php variable "$att_content_data". If the content of the file attachment is already (or only) in base64-coded form, use the php variable "$att_content_base64" instead. Normally the base64 encoding takes place automatically.
Important!
Please note that all tasks are executed the order shown under "Email and Database". The file attachment must have been created before the email and will then be attached to all subsequent emails. You can use the "Move Up" and "Move Down" buttons to change the order of the tasks accordingly.